PHOTO MOSAIC GUIDES
Compare Soft and Hard with the same original
A reproducible comparison with the original and settings included. Inspect fine patterns, large outlines, and selected-area coverage.
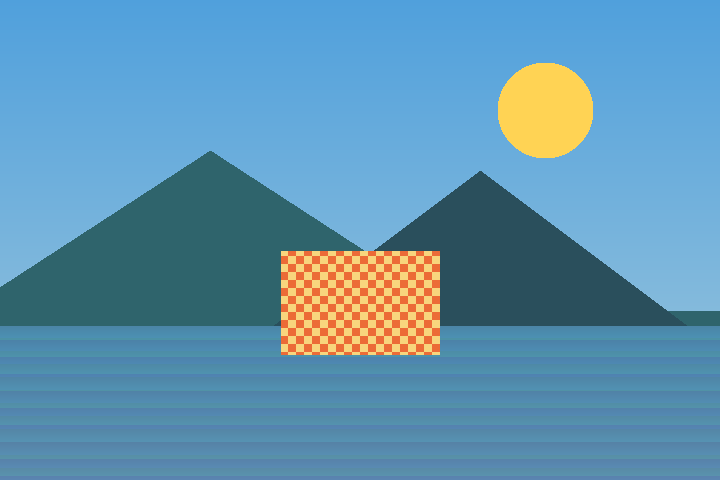
The original used for this comparison
This original 720×480 image was created from geometric shapes and color patterns. It contains no real person or personal information. Save the original below and select it as your main photo to compare the same settings. Tile photos: 0. Scale: 1×. No result adjustments were applied.
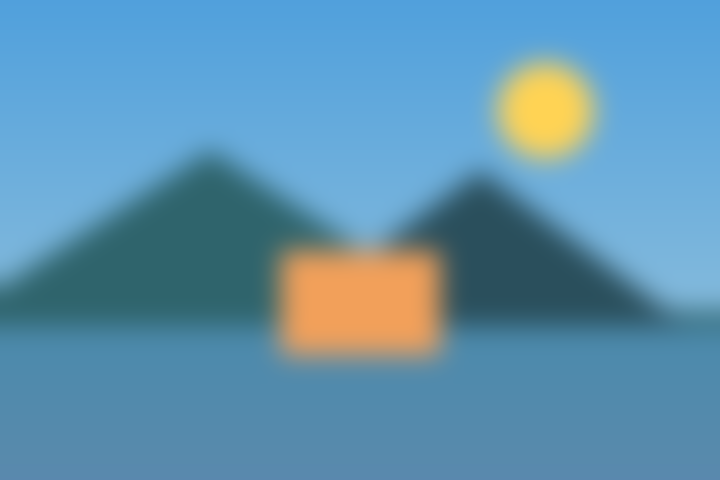
Soft at strength 20
Soft 20 was applied to the entire image. The small checker pattern and mountain edges blend together. Soft mixes neighboring colors to blur the image; it is different from building a photo mosaic with tile photos.

Soft at strength 80
Only strength was increased to 80. The small checker pattern becomes more blended while large color areas remain. The visible effect at a given strength also depends on image size and the details in the input.
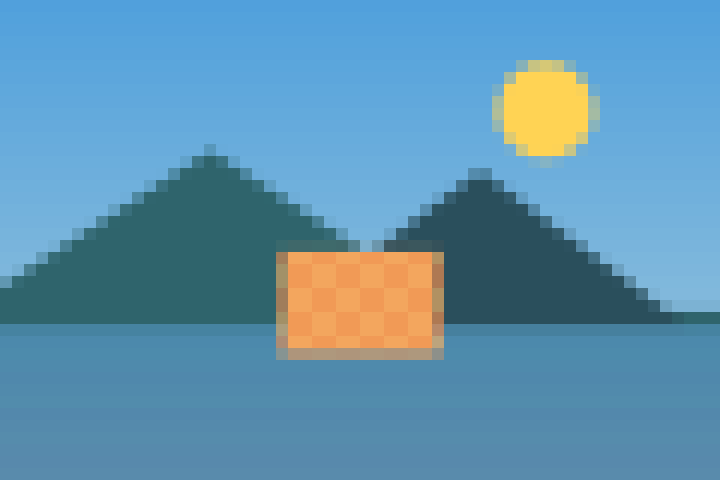
Hard at strength 20
Hard 20 was applied to the entire image. Colors are grouped into small square blocks. Curved and diagonal edges appear stepped, and fine detail within each block is reduced.
Hard at strength 80
At strength 80, colors are grouped into larger square blocks. Unlike Soft, boundaries between blocks remain visible. Compare both effects when simplifying fine details while retaining the overall shape.
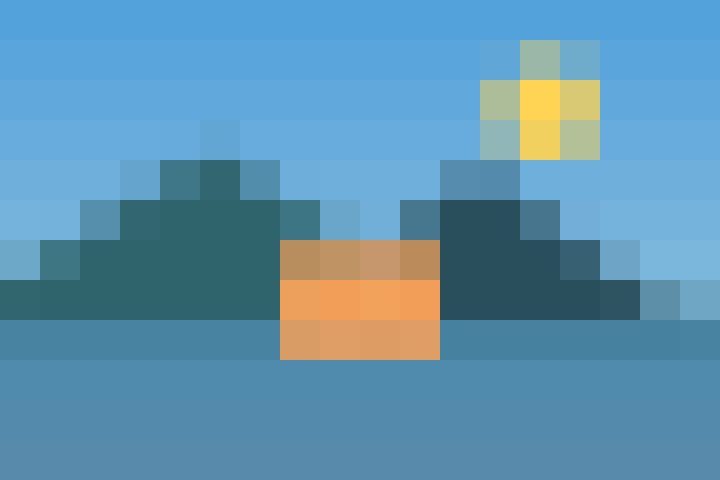
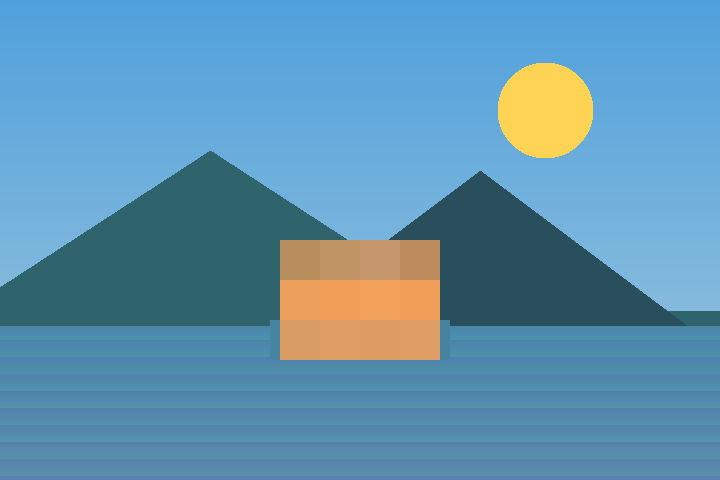
Apply it to one rectangle
Hard 80 was applied only to X=270, Y=240, width=180, height=120 pixels. This starts at 37.5% of the original width and 50% of its height and covers 25% of each dimension. The generator verifies that every RGBA value outside the rectangle matches the original.
Reproduce the results
Download the original PNG below. Start a new mosaic, select it as the main photo, and continue past the tile step without adding photos. Enable mosaic strength in settings, choose Soft or Hard and its strength, and generate using the entire image. For the regional example, choose selected rectangles and add an area matching the coordinates above. After generation, the brush and eraser can further edit coverage on still results.
Purpose and limitations
These images are generated with the actual service applyMosaicEffect function and OpenCV.js, rather than screenshots of the browser UI. Blur or pixelation alone does not guarantee anonymization of sensitive information. Inspect faces and text before sharing a file. The same strength number does not imply an equivalent visual result across effects.
Try these settings
Start with photo selection. Settings from this guide are not applied automatically; select them in the settings step.
Select a photo to start